Generating and Submitting the MS-61
In order for you to import the system generated XML file into the MS-61 PDF form, it may be necessary for you to match the names, spelling, and format of the municipality name you've used in your database with the standardized values required by the DRA. For example, in the PDF form, DRA provides a dropdown list of approved municipality names. If the municiaplity name in your database was entered as "Town of Townname", you will need to select the corresponding state option of "Townname" in order for the municipality name to be listed properly when you import your XML file to the DRA's PDF form. However, once you have selected the corresponding standard values (where necessary), the system will automatically populate these values the next time you run the MS-61. Instructions on setting these values are listed in the steps below.
The MS-61 purpose, as with the Collection YTD (see Collection YTD Report), is to show the activity for a fiscal year. Therefore, it must be balanced and printed at the end of your fiscal year. There are multiple reports that will assist you in proving the figures on the MS-61 (see Balancing the MS-61 Report for a listing of reports). The main difference between the MS-61 and the Collections YTD, is how DRA wants amounts categorized. For example, on the Collections YTD, the liened amounts are posted under the Collected Principal and Interest columns. On the MS-61, the principal paid by the lien is listed as one amount on Page 2 | Remitted To Treasurer | Converted to Liens (Principal Only).

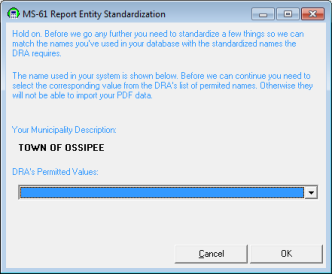
To generate the main MS-61 report, select Reports | MS-61. Review and update all of the required cover page information and select the Next button. If your Municipality name has not been standardized using the list of DRA permitted values, the Municipality description dialog box will open. Using the "DRA's Permitted Values" dropdown menu, select your Municipality description and select OK (this will only display if the Municipality description has not been set).
Once you have entered the required information you will see the following set of output options.

Click on the Preview Report label or the corresponding icon to display the current MS-61 Report. Note that you will need to print this report (in its traditional format) and keep this for your records.
Once you have previewed the report and are ready to submit it electronically to the DRA, you can generate an XML file that contains all of your MS-61 data in a format that can be imported into the DRA's PDF file.
To do so, select the ellipsis button (...) and locate a folder on your computer in which you wish to create the XML file and click OK. Once this location is set, you won't need to set the location again for this machine. Select "Export Report Data to XML File" and this will create a file called MS61.xml to the location that was set.
To download the latest MS-61 Report in PDF version please visit the DRA website . Locate the MS-61 PDF with the most recent revised date. Save that PDF to the same location you exported the XML file to in the previous step.
To import the XML file properly into the PDF you downloaded from the DRA, you must have Adobe Reader 11 or newer installed. And depending on your version of Adobe Reader, the method by which you import the .XML file could be different. Expand the version of Adobe Reader you have below for the correct instructions.
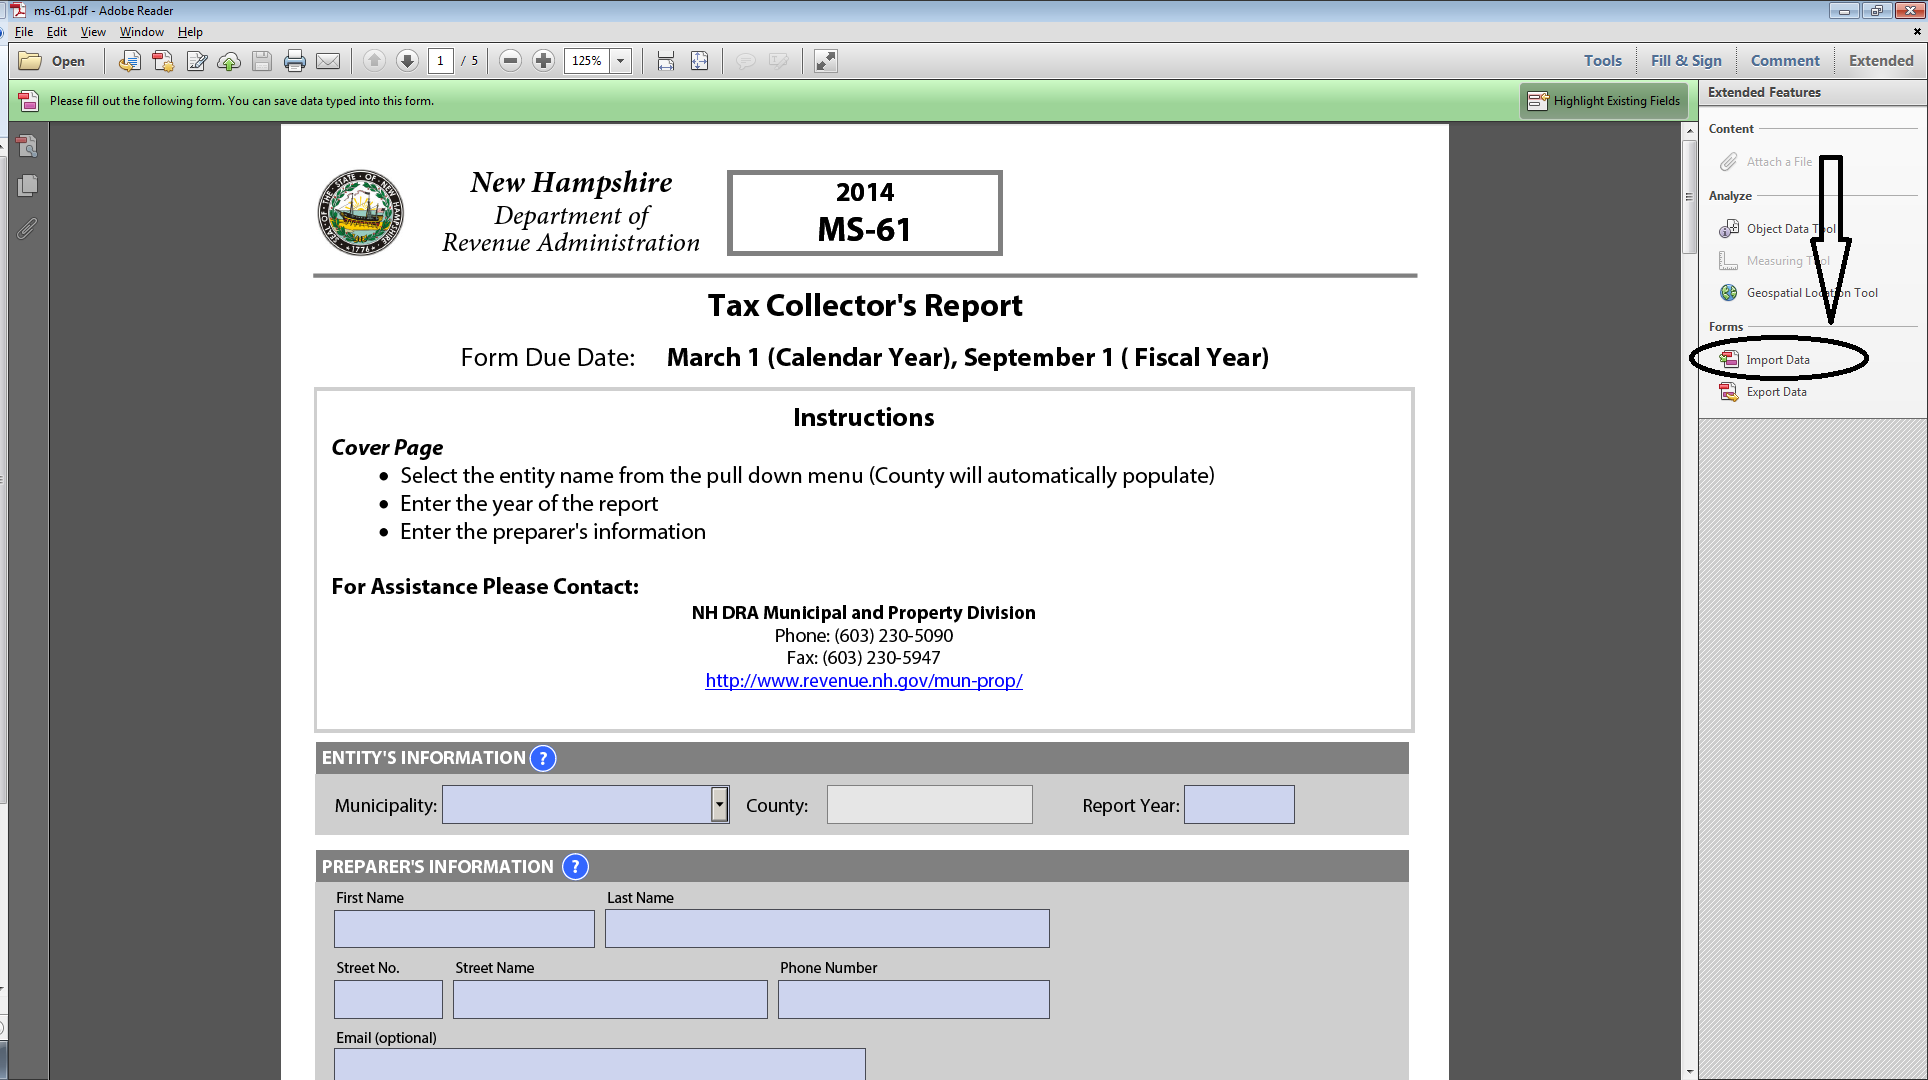
Open the PDF in Adobe Reader 11. Select Extended on the top right hand side of Adobe and select Import Data. If you do not see the Extended menu, go to View | Extended | Extended Menu and this will open the Extended options on the right hand side of the PDF.
Browse and select the MS61.xml file that was exported to your computer and click Open. The fields of the PDF will populate with the data from the XML file. At the bottom of page five you will see the preparers certification section. The preparer will need to electronically sign their name to identify who is submitting the report verifying that the information submitted to the DRA is accurate. Once you have reviewed the data, save your changes. The next step is to submit the report to the DRA by emailing the appropriate email address listed at the bottom of page five of the PDF. You should also print the completed MS-61 PDF to keep a copy for your records.
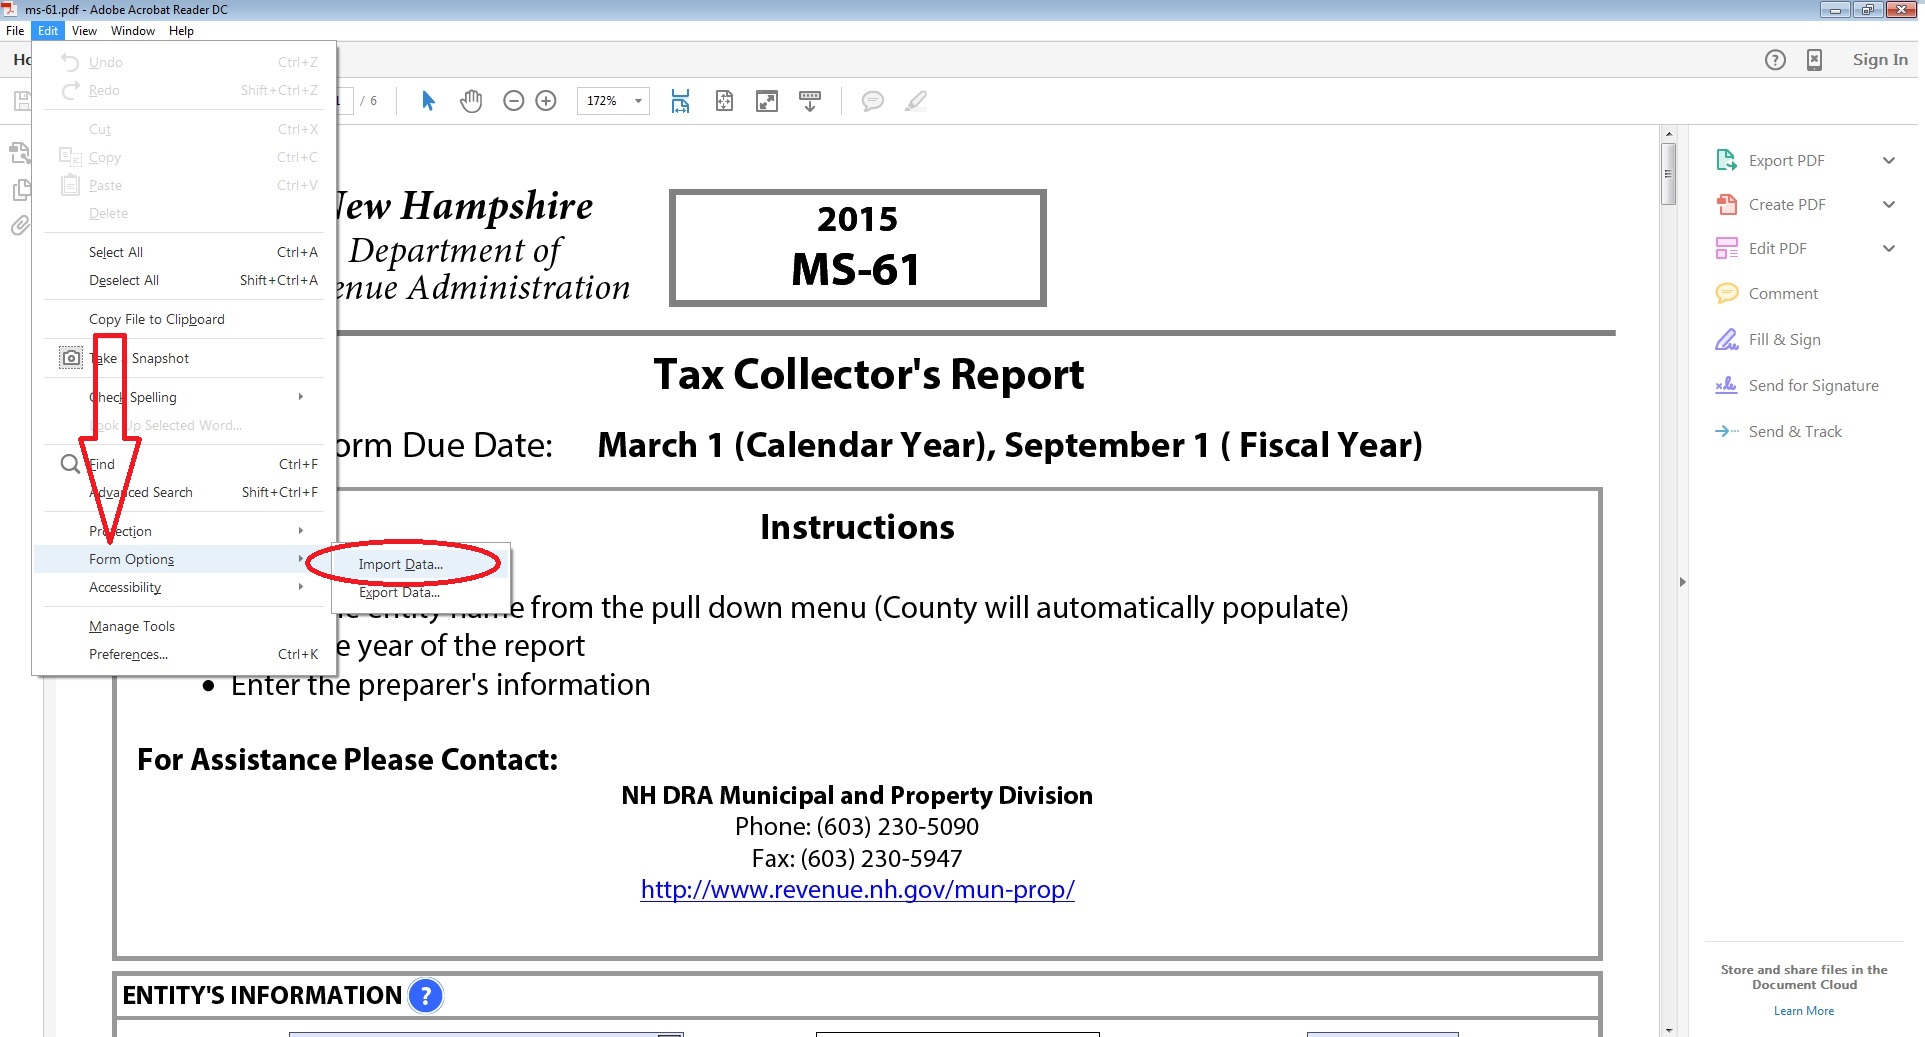
Open the PDF in Adobe Reader DC. Select the Edit menu at the top Adobe and select Import Data.
Browse and select the MS61.xml file that was exported in Step 3 and select Open. The fields of the PDF will populate with the data from the XML file. After reviewing the MS-61 you will need to complete the preparer information on the last page. The preparer will need to electronically sign their name to identify who is submitting the report verifying that the information submitted to the DRA is accurate. Once you have reviewed the data, save your changes. The next step is to submit the report to the DRA by emailing the appropriate email address listed at the bottom of page five of the PDF. You should also print the completed MS-61 PDF to keep a copy for your records.